

Table of Contents
- What You’ll Need Before You Assess Home Plumbing
- How to Check Water Pressure in House Fixtures and Lines
- Step-by-Step Visual Inspection of Pipes, Joints, and Fixtures
- Material-Specific Checks: PEX, Copper, and Galvanized Steel
- Signs of Plumbing Failure You Should Never Ignore
- Drainage, Water Heaters, and Smart Leak Detection Integration
- When to Call a Professional Plumber and Seasonal Maintenance
- Frequently Asked Questions
Last Updated: September 13, 2026
What You’ll Need Before You Assess Home Plumbing
Learning how to assess home plumbing starts with the right tools and a basic map of your system. Dooley’s Water has helped Kansas and Oklahoma homeowners read their own systems for nearly two decades, and the fundamentals apply whether your pipes are new PEX or decades-old galvanized steel.
Gather these before you start:
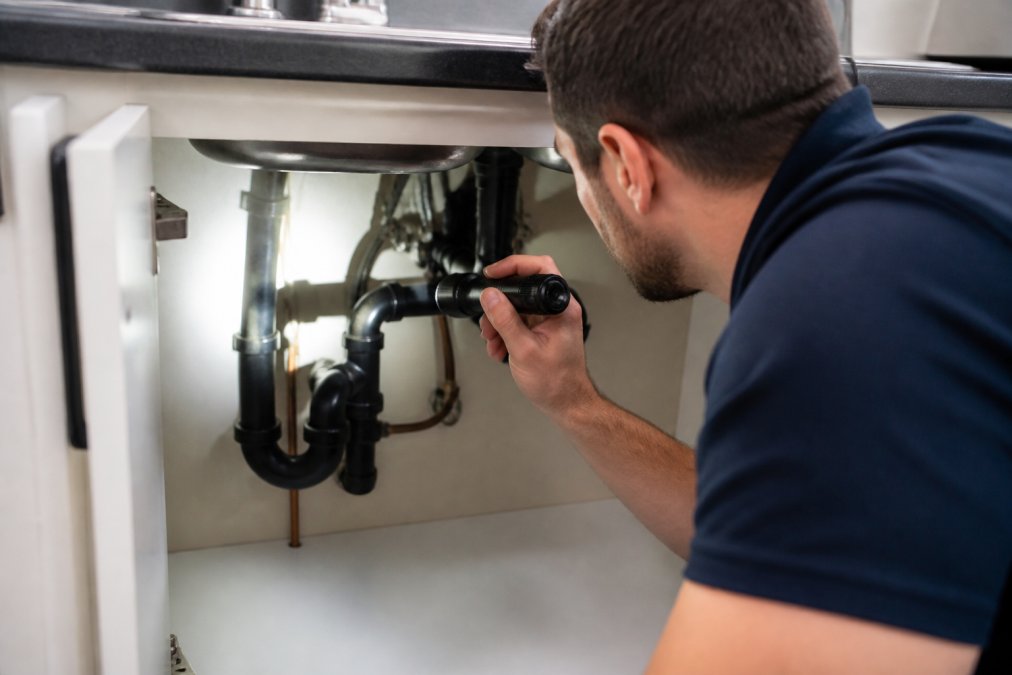
- Flashlight or headlamp for crawl spaces and cabinets
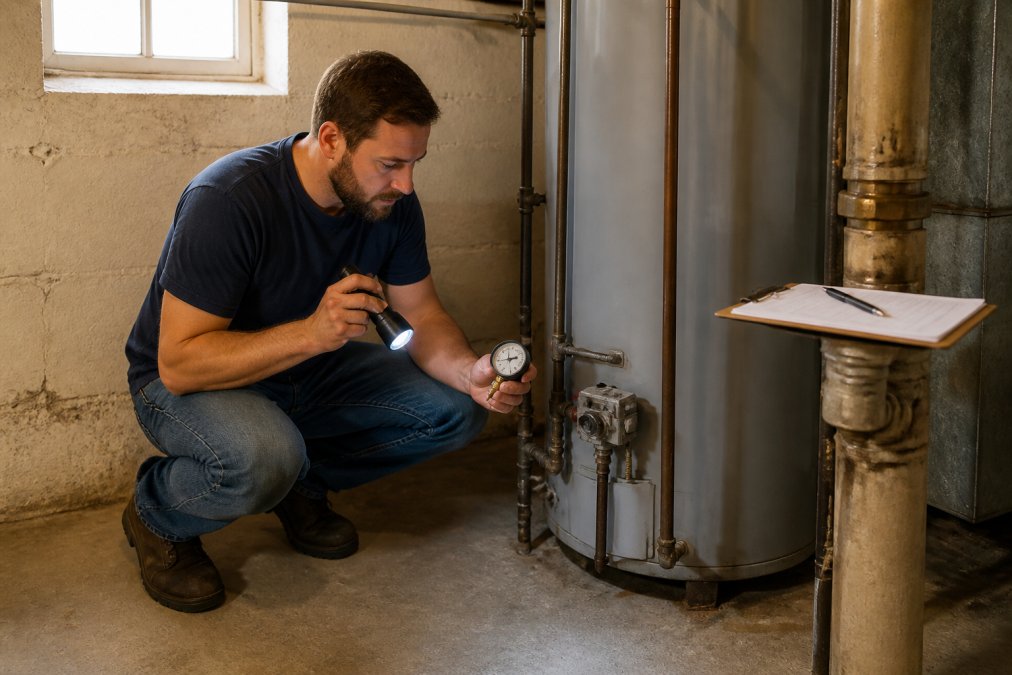
- Pressure gauge that threads onto a hose bib
- Bucket and towels for testing fixtures
- Notebook or phone for recording readings and dates
- Gloves, since pipe joints and drains can be grimy
Take photos of every pipe joint, valve, and shut-off you find. When you call a plumber later, those photos save a return trip and often a diagnostic fee.
How to Check Water Pressure in House Fixtures and Lines
The best way to check water pressure in house lines is with a screw-on gauge at an outdoor hose bib. Most homes run between 40 and 80 psi, and anything above that stresses every joint and appliance in the system. The EPA’s WaterSense guidance on household water pressure notes that excess pressure wastes water and shortens the life of fixtures.
Testing Pressure at Hose Bibs and Interior Fixtures
Thread the gauge onto the hose bib closest to where the main water line enters the house, open the valve fully, and read the needle. Repeat at a second bib on the opposite side; a big drop points to a restriction. Inside, run a faucet and flush a toilet simultaneously to test pressure under load.
What Your Pressure Regulator Reading Means
A pressure regulator sits near the main shut-off valve and caps incoming pressure. If your gauge reads above 80 psi, the regulator may have failed or need adjustment. Readings below 40 psi usually mean a supply problem, a partially closed valve, or a failing regulator.
| Reading | What It Suggests | Next Step |
|---|---|---|
| Under 40 psi | Supply issue or closed valve | Check main valve and supply line |
| 40-60 psi | Ideal range | No action needed |
| 60-80 psi | Acceptable but monitor | Recheck in 30 days |
| Above 80 psi | Regulator likely failing | Adjust or replace regulator |
Step-by-Step Visual Inspection of Pipes, Joints, and Fixtures
A visual inspection is the fastest way to catch small problems before they become expensive repairs. Work from the main water line outward, checking every exposed pipe, joint, and fixture you can reach. Basements, crawl spaces, and under-sink cabinets reveal the most.
Checking Leaks, Moisture, and Water Stains
Look for damp drywall, warped cabinet floors, and dark rings around pipe joints. Even a slow drip leaves a mineral trail visible under a flashlight. Run your hand along the underside of horizontal pipes; moisture you can feel is a leak you can fix early.
Identifying Corrosion and Rust on Pipe Materials
Corrosion shows up differently by material: copper develops a green patina, galvanized steel flakes white or orange, and steel fittings rust at the threads. Any pipe that crumbles when touched needs replacement, not a patch.
Never ignore a pipe joint that shows green crust or white powder. That crust means the joint is actively corroding from the inside, and the failure usually happens without warning, often at the worst possible time.
Material-Specific Checks: PEX, Copper, and Galvanized Steel
The pipe material in your walls dictates what a leak looks like, how fast it progresses, and which tools detect it. Identifying your material first separates a useful inspection from a wasted afternoon.
How to Identify What You Have
Start at the water heater and main shut-off. The pipe leaving the meter or pressure tank is usually the same material as the rest of the supply system, though partial repipes are common.
- PEX is flexible, comes in red (hot), blue (cold), and white, and is stamped with the manufacturer and a pressure/temperature rating along the length. Fittings are brass or plastic and connect with crimp rings, clamp rings, or expansion sleeves.
- Copper is rigid, reddish-brown, and joined with soldered fittings or, in newer work, press fittings. Look for the stamped type, Type M is thin-wall and common in residential supply lines, Type L is thicker and often used underground.
- Galvanized steel is gray, magnetic, and joined with threaded fittings. A magnet sticks to it and not to copper or PEX. If you see threaded joints on a supply line, you have galvanized.
PEX: What Actually Fails
PEX rarely corrodes, so failures cluster at connections and exposure points.
- Crimp and clamp rings: Check that each ring sits squarely over the fitting barb with the crimp tool’s go/no-go gap visible. A ring that slid down the tube or sits at an angle is a future leak.
- UV degradation: PEX breaks down when exposed to sunlight. Any run near a basement window, crawl space vent, or unfinished attic that has seen direct light will feel chalky or show fine surface cracks. That section should be sleeved or replaced.
- Rodent damage: In crawl spaces and garages, mice chew PEX. Look for small crescent-shaped gouges along the top of horizontal runs.
- Expansion fittings: If your system uses expansion (PEX-A) fittings, check for white stress marks at the collar. These indicate the fitting was over-expanded.
Copper: What Actually Fails
Copper is durable but not permanent. Two failure modes dominate.
- Pinhole leaks: Caused by water chemistry, high velocity, or flux residue left inside the pipe at installation. They appear as tiny green or white crusted dots, often on the bottom of horizontal runs where water sits.
- Vibration wear: Where copper passes through a framing member without a plastic isolator, vibration against wood or another pipe wears a flat spot that eventually pinholes. Run your fingers along contact points and feel for flat spots or grooves.
- Soldered joint corrosion: Green verdigris at a joint means flux was left on the surface or the joint is weeping. A dry green stain is a warning; a wet one is an active leak.
Galvanized Steel: What Actually Fails
Galvanized pipe corrodes from the inside out, so the outside often looks fine until it does not.
- Flow test: Open a cold tap fully and time how long it takes to fill a one-gallon container. A healthy supply line fills it in roughly 10 to 15 seconds at typical residential pressure. If it takes 30 seconds or more, the interior is likely choked with rust scale.
- Rust-colored water: Brown or orange water from cold taps after a vacation, when the system has sat unused, is a classic sign of internal corrosion.
- Threaded joint weeping: Rust streaks running down from a threaded fitting mean the joint is failing. These joints cannot be reliably re-tightened once the threads are compromised.
Galvanized steel has a typical service life of roughly 40 to 50 years in most municipal water conditions, and less in aggressive water. If your home still has original galvanized supply lines and you are seeing reduced flow or rust-colored water, plan for a repipe rather than chasing individual repairs.
Matching Your Inspection to Your Material
| Material | Primary Failure Mode | Best Detection Method | Typical Replacement Trigger |
|---|---|---|---|
| PEX | Fitting and connection failure | Visual check of rings and fittings | Kinked, UV-damaged, or chewed section |
| Copper | Pinhole leaks and vibration wear | Flashlight scan for green/white crust | Multiple pinholes in one run |
| Galvanized steel | Internal corrosion and scale | Flow timing and water color | Widespread low flow or rust water |
If your home has a mix, common after partial repipes, inspect each material on its own terms. A copper-to-galvanized transition fitting is a frequent leak point because the two metals corrode each other when they touch in the presence of water.
Signs of Plumbing Failure You Should Never Ignore
Certain warning signs mean a failure is already underway. Water stains on ceilings, a water bill that jumps without explanation, and gurgling drains all point to problems that get worse fast. The CDC guidance on household water contamination risks reminds homeowners that slow leaks and backflow can affect water safety, not just your floors.
Watch for these red flags:
- Water stains spreading on walls or ceilings
- A water bill that climbs with no change in use
- Sewage odors near drains or the main line
- Rust-colored water from hot taps only
- Faucets that sputter or lose pressure suddenly
Drainage, Water Heaters, and Smart Leak Detection Integration
These three systems fail differently but share one trait: early signals are easy to miss and expensive to ignore.
Testing Drainage Like a Pro
A single slow sink tells you almost nothing. The pattern across fixtures is what matters.
- Fixture-by-fixture test: Fill each sink and tub to the overflow, then pull the stopper and time the drain. A healthy lavatory sink empties in roughly 30 to 60 seconds. A tub typically takes 2 to 3 minutes. Write the times down so you can compare next season.
- Local vs. main line: If one fixture drains slowly and the rest are fine, the clog is in that fixture’s trap or branch line. If every fixture drains slowly, or if water backs up in one fixture when you run another, the blockage is in the main drain or the sewer lateral.
- Gurgling and bubbling: A toilet that gurgles when the sink drains, or bubbles in a tub when the washer empties, points to a venting problem or a partial main-line blockage. Vents equalize pressure in the drain system; when they are blocked, traps get siphoned and sewer gas enters the home.
- Sewer smell test: A persistent sewer odor near a floor drain or basement sink usually means the trap has dried out or the vent stack is blocked. Pour a quart of water down any floor drain you have not used in a month.
- Cleanout check: Locate your main cleanout, usually a capped Y-fitting near the foundation or in the yard. If it is buried or missing, that is a problem worth fixing before you need it.
Water Heater Assessment Beyond the Age Sticker
The age sticker tells you how old the tank is, not how close it is to failing.
- Anode rod: This sacrificial metal rod inside the tank is what protects the steel lining from corrosion. In most municipal water, it should be checked every 2 to 3 years and replaced when it is more than half consumed. A tank whose anode is gone will rust through from the inside.
- Pressure relief valve: Lift the lever briefly and let it snap back. Water should discharge from the drain tube and stop. If nothing comes out, the valve is stuck and is a safety hazard. If it drips continuously afterward, the valve needs replacement.
- Sediment and rumbling: A rumbling or popping sound during heating means sediment has collected on the bottom of the tank. In hard-water areas this happens faster. Flushing the tank annually through the drain valve slows it, but once rumbling is constant, the tank is usually near the end of its life.
- Tank vs. tankless: Tankless units need annual descaling in hard-water areas. A tankless heater that takes noticeably longer to deliver hot water, or that cycles on and off rapidly, is usually scaled up internally.
- Signs of imminent failure: Rust streaks on the tank shell, moisture at the base, or a pilot or igniter that keeps shutting off are all reasons to plan replacement rather than repair.
Smart Leak Detection: Where to Place Sensors and What to Buy
Manual inspection catches what is happening the day you look. Smart sensors catch what happens the other 364 days, the biggest gap between a basic checklist and a genuinely protective system.
Where to place sensors:
- Under every sink with a cabinet, kitchen, bathrooms, laundry
- Beside the water heater, on the floor within a few inches of the tank base
- Behind or beside the washing machine, where supply hoses fail most often
- Near the refrigerator ice maker line
- Beside the main shut-off valve and any floor drain
- In a basement or crawl space near the lowest point
What to look for in a system:
- Sensing type: Point sensors detect standing water at a single spot. Cable or rope sensors detect moisture along a run, which is better for crawl spaces and under-floor areas.
- Alert method: App push notifications, audible alarm, or both. App-only systems fail if your phone is off or you are out of signal.
- Automatic shut-off: The most valuable feature. A motorized valve on the main line closes when a sensor trips, stopping the flow at the source. Without it, you get an alert and still have to race home.
- Battery vs. wired: Battery sensors are easy to place but need annual battery checks. Wired or line-powered sensors avoid that but require an outlet nearby.
- Integration: Many systems tie into major smart-home platforms so alerts can trigger lights, sirens, or a call to a monitoring service.
Place a sensor under the washing machine even if the machine sits in a finished room. Supply hose failures are one of the most common causes of sudden, large-volume water damage in homes, and they usually happen while no one is home.
A smart leak sensor costs less than most emergency plumbing calls and catches the slow leaks that cause the most damage over time. Pair it with an automatic shut-off valve and you have protection that works whether you are home or not.
Putting the Three Together
Drainage problems, water heater decline, and undetected leaks often overlap. A dripping water heater feeds moisture into the same floor area a sensor would catch, and a main-line blockage shows up first as slow drains and later as a backup. Inspect all three on the same schedule to catch the interaction, not just individual symptoms.
When to Call a Professional Plumber and Seasonal Maintenance
Knowing when to call a professional plumber comes down to scope, safety, and code. If the problem involves the main water line, sewer scope work, gas lines, or anything behind a finished wall, hire a licensed plumber. DIY inspection is about spotting problems early, not repairing the whole system.
Call a professional when you see:
- Water pooling near the foundation or main shut-off
- Sewer backups or multiple slow drains
- Any work on the main water line or sewer line
- Gas water heater issues or venting problems
- Pressure that stays above 80 psi after regulator adjustment
Seasonal maintenance keeps small issues from growing. In spring, check outdoor bibs and irrigation lines for winter damage. In fall, flush the water heater, test shut-off valves, and inspect exposed pipes before the first freeze. Homes on well water should also test water quality annually, since hard water accelerates scale buildup inside pipes and appliances. A Department of Energy guide to water heating efficiency notes that scale and sediment reduce efficiency, which is one more reason to stay ahead of it.
Most homeowners can handle a basic inspection, but hard water damage, failing pipe materials, and pressure problems eventually need more than a checklist. Dooley’s Water helps Kansas and Oklahoma families address the root causes with Kinetico water softeners, reverse osmosis drinking water systems, and whole-home filtration, installed without pressure or upselling. If your inspection turns up scale, sediment, or recurring leaks, start with a free water analysis to see exactly what your water is doing to your plumbing. Get started with Dooley’s Water and protect your pipes, appliances, and water quality for the long run.
Frequently Asked Questions
How do I know if my house has plumbing issues?
Watch for damp spots on walls or floors, water stains on ceilings, a sudden jump in your water bill, or a noticeable drop in water pressure. These point to hidden leaks or failing pipe joints. Also listen for running water when no fixtures are on. If you spot two or more of these signs, it is time to assess home plumbing more thoroughly or bring in a professional.
What is the biggest red flag in a home plumbing inspection?
Corrosion on pipe joints or a main water line that will not hold steady pressure are the two biggest red flags. Rusty, flaking joints on galvanized steel or green crust on copper piping signal pipe integrity is failing. Combine that with damp spots near the foundation, and you likely have an active or near-future leak that needs a plumber’s eyes.
How often should a home plumbing system be professionally inspected?
Most homes benefit from a professional inspection every two years, but older homes with galvanized steel or original copper piping should be checked annually. If you are on a well or have hard water, scale buildup speeds up wear, so yearly is safer. Between pro visits, a seasonal DIY walkthrough of exposed pipes, shut-off valves, and the water heater catches small problems early.
What should I look for during a DIY plumbing inspection?
Start at the main water line and work through exposed pipes, checking for moisture, water stains, and corrosion at every joint. Test flow rate at faucets and hose bibs with a pressure gauge. Flush drains to spot slow clogs, and look at the water heater for rust or pooling. Write everything down so you can compare next season and spot trends before they become failures.